Sunday, January 30, 2011

Risotto Made Easy

One of my favourite meals is risotto.  I could quite happily eat it every day, and if it's a special occasion, hubby knows it's a safe bet to make it for me, and I praise him endlessly.  I have never tackled making it myself, because I always felt like it took too much fussing about the stove, standing and stirring it forever.  Not so anymore.  I spent some lazy time today reading risotto recipes out of my Christmas present from hubby - La Cucina and then decided to have a crack with both help from Cousin and a bit of direction for hubby, who after I had carefully read a few recipes to get a feel for it, told me HIS surefire way of making risotto.

To start with, Cousin finely diced half a large brown onion, then chopped up a big handful of mushrooms roughly while I carefully diced up about 100 - 150g of spec (but you can use bacon if you can't get spec).


Once everything was ready, I put a good slice of butter in a medium sized butter, along with a big slug of olive oil (how I'll repeat this sans recipe or hubby, I have no idea).


Once the butter and oil was melted and bubbling, I popped in the onion, spec and a heaped teaspoon of minced garlic and browned it all off. Then I added a cup of arborio rice and stirred until the rice was coated in oil and had gone translucent.


The next step is to add liquid.  To start with, I added half a can of tomato paste and a slug of water (which I used to rinse the tomato paste can).


Hubby instructed me to stir the rice every thirty seconds or so, which I did.  I was a bit dubious about the whole 'stir regularly until the liquid is absorbed' line, but I have to admit, you could DEFINITELY see when the liquid was absorbed and the rice went from looking soupy to starting to look dry and gluggy.  At that point, hubby poured in probably a cup and a half of red wine.


 Once the risotto had cooked down again, I added a can of diced tomatoes and a little bit more water and kept on stirring.


Surprisingly enough, by the time the can of tomatoes had reduced into the risotto, the risotto tasted 'right'.  The rice had the right consistency and I was nearly there!  To finish it off, I stirred in a load of regular tasty cheese, and the same again in parmesan.  Once it had melted, the risotto went all gooey and awesome.


The finished product!  Hubby bbq'd some lamb steaks and Cousin made a delicious salad to go along with it. Team work in the kitchen certainly makes preparing meals a lot more fun!


End result?  My risotto was probably a bit more liquid-y than 'real' risotto, but gee it tasted great and it was SUPER easy.  I was amazed.  All you need is a bit of time.  I will DEFINITELY be making this again.  And who knows?  Maybe next time I'll use a real recipe.

Wednesday, January 26, 2011

Wednesday Pie Night

I love kitchen gadgets.  I really do.  My work gave us an ice cream maker as an engagement present, and I nearly died of excitement.  So when Hubby, Cousin and I were invited to Sis-In-Law's house last week to join in Wednesday Pie Night, both Hubby and I were pretty keen to check it out.

Let me just say now - this has to be one of the most convenient makers of food since the toaster.  It was fun, easy, fast and the types of pie you can make are only limited by your imagination and contents of your fridge.


Step One is to cut out the pastry (you CAN make your own, but that's not the point of Wednesday Pie Night) with the handy dandy cutter that's included.


Then you pop the bottom rounds into the pie maker.


Next step is to add the fillings of your choice.  This is the Chilli Con Carne Pie (with cheese, which melted and was awesome).  We also made Left Over Curry Pie, Left Over Bolognaise Pie (with cheese) and German Pie (bratwurst, sauerkraut and mashed potato).  Sis-In-Law also told us that this will all still work if the pie contents are frozen when you put them in.  AWESOME!


Then you pop the top pasty round on - this is where you find out whether you've over-filled it or not. Then you press down the top, and leave it until the green light goes on.


Perfectly cooked pies are the result.  The winner for the night was the Chilli Con Carne Pie (although they were all good).

Hubby and I had so much fun with this, that we actually went out the next day and bought one.  I know this isn't necessarily 'culinary', but it was convenient, easy to use and will definitely get used.  We probably have pie as an easy weekday meal every other week - now when we eat one we'll know EXACTLY what went in it. 

Sunday, January 16, 2011

Macaroon Madness - Part 1

I love macaroons.  Really.  Ever since I had my first macaroon in Paris, and savoured every mouthful, I have loved them.  In Nice I made myself sick eating them.  In Provence I won a bet with my husband the prize was... you guessed it - a macaroon.  So it comes as no surprise that they would definitely tempt me into the kitchen.

Now, let's just get this straight.  This is the blog of a Wannabe Cook, not a Wannabe Pasty Chef.  I enjoy baking, and the point of this blog is to learn a new skill, not continue baking treats that go straight to my bum, so baking posts will, by necessity, be kept to a minimum.  But the challenge of making macaroons is proving a little consuming.

More to the point.... with the devastating floods in my home city, over the last few days Hubby and I headed to his parents house so that he could continue to work remotely with his office's BCP with no threat of power outages.  My office doesn't have a BCP, so I went along because since the flooding started, I refuse to go anywhere without him.

Yesterday morning was rainy and dreary, so with hopes of the skies clearing eventually, and a new (thank you Father-In-Law!) piping bag to test out, my cousin and I decided to have a baking day.  I choose chocolate macaroons and Cousin chose cranberry chews.  On the advice of my neighbour, I have invested in The Australian Women's Weekly Macaroons & Biscuits magazine.  It's a great magazine, and I highly recommend it.

I started out by sifting all my dry ingredients, icing sugar, ground almonds, cocoa into a bowl.  It took help from Cousin and Mum-In-Law to do this - the icing sugar was a little old and had set in hard big lumps! 


While I was busy sifting, Cousin popped 3 egg whites into Mum-In-Law's Kenwood (I SOOOO want one of these) and set them mixing until the soft peaks formed.  Then I popped it the caster sugar and set it going again until the sugar had dissolved.


I carefully folded the sifted dry ingredients into the egg whites in two batches, until combined.


Next, (and the biggest test for me) I put the mixture into my brand new piping bag and attempted to pipe 4cm rounds onto oven trays covered in baking paper.  I have to say, using a piping bag is HARD.  If anyone has any tips on how to pipe smooth rounds, I'd love to hear them.


The next step is to dust the rounds with extra sifted cocoa powder, tap the trays to knock any air bubbles out and then let them rest for 30 mins.  My Father-In-Law has the cutest oven timer - it's a fat little chef and I got a real kick out of using it (and wearing his proper stripy chef's apron).

After resting, the macaroon's went into the oven for 20 minutes at 150 degrees Celsius.  While they baked, I put 60ml (1/4 cup) of cream into a small saucepan and brought it to the boil.  Once boiling, I pulled it off the heat and then dropped into 150g of dark chocolate into it and stirred it like mad until it was smooth and glossy.  I have to admit, Hubby got a bit of a telling off for sneaking pieces of chocolate before we worked out that we had more than enough to bake with and snack on.


The ganache went into the fridge until the macaroons were out of the oven and had cooled down.  Here's a pic of my pre-filled macaroons.


Once they were cool, and the filling had set a little, I started smearing chocolate filling onto the macaroons and sandwiching them together.


As you can see from the above photo, my macaroons don't really look like macaroons.  My two biggest problems were:-

  • I couldn't get the knack of the piping bag, so instead of flat little rounds, I had peaked little rounds.
  • I overcooked the macaroons.  They should have come out of the oven five minutes before I did take them out.  While they tasted great, they just weren't as moist as they should have been.
To me, this was a fail (albeit a tasty fail). If anyone has any suggestions, I'd love to hear them.

Sunday, January 9, 2011

Southern US Feast

Last night our lovely neighbours came over for dinner.  We had a week's notice they were coming, so earlier in the week my husband handed me his copy of Maeve O'Meara's Food Safari recipe book and told me I'd better start picking my menu.  I hugely recommend both the TV Series and the book itself - Maeve's enthusiasm for her topic is absolutely infectious.

Flicking through the pages I found myself stuck on the USA section.  Three recipes caught my eye - barbecue ribs, southern fried chicken and corn bread muffins.  Between my husband and I we settled on adding two extra sides to our dishes - a homemade coleslaw and corn cooked on the bbq with the ribs and an entree of buffalo wings with blue cheese sauce.  We also decided on homemade cherry ice cream for dessert - more on that later.

The idea of cooking an entire dinner party was incredibly daunting!  And I will admit, my husband gave me LOTS of help, so this Wannabe Cook didn't do EVERYTHING.  At 2pm yesterday afternoon, I read through my recipes and made a start.  We expected our guests at 5pm, and wanted to eat at 7pm, so the idea of teeing everything up at the same time seemed impossible until I got rolling.  I'm going to post piccies in order of entree, main and dessert, but bear in mind that we prepared things simultaneously, and I had all my dry ingredients for the chicken and the muffins done and sitting sealed and waiting well before cooking.

The Buffalo Wings

We got the recipe for the wings off taste.com.au.  Hubby loves this website and uses it regularly - more often than he uses the cook books we have!

First step was to get the wings cut up and ready:-


 Next, I mixed the marinade - it was mostly butter, onion powder, garlic powder, cayenne powder, peri peri sauce and paprika.


 All but about a quarter of the marinade was put in a plastic bag with the chicken pieces.  I wrapped it up tight and put it in the fridge til we needed it - about three hours in the end.


The chicken pieces went under the grill, on a high heat, about ten minutes each side.  


On the plate, coated in the rest of the marinade.  Hubby made the blue cheese sauce to accompany it, which was mostly sour cream, blue cheese and lemon juice.


These tasted absolutely amazing.  Any spicier and I would have struggled, but they were just right.  I highly recommend giving them a go.

The Cornbread Muffins

These muffins turned out AMAZING.  The recipe was from Food Safari, and actually made 12 standard muffins... but I only had a 6 muffin tin, and our neighbour only had a tin for mini muffins.  The end result?  6 regular cornbread muffins and masses of teeny tiny ones!

This is the dry mix - it's self raising flour, polenta and lots of caster sugar and a little salt.  I added creamed corn, 3 eggs, milk and butter to make the batter.


I baked them for about 15 minutes  - and this is how they turned out.  Yummy, light and fluffy.  And a little spicy because I added some sliced up bbq'ed chilli.

Muffin success!

Southern Fried Chicken

One of the main events (alongside the ribs).  To my amazement, it turned out looking EXACTLY how I thought it would, and I loved it. Hubby gave me a crash course on cutting up a whole chicken into pieces, but there's no reason why we couldn't use pre-cut pieces if we make it again.  Having said that, there's something very nice about having started from scratch and wielding a knife....

After cutting up the chicken, I put the pieces in a dish and covered them with buttermilk, then popped the whole lot in the fridge.  The recipe advised to leave it overnight, but we only had three hours (it was the first thing I did).  Apparently soaking the chicken in buttermilk tenderises the meat.


While I was waiting, I put my dry ingredients together - plain flour, tarragon, garlic powder, onion powder, dill, paprika and cayenne powder made up most of the mix.


 While my fry pan full of oil heated up, I drained off the buttermilk, dipped the pieces in beaten egg and then coated it liberally in the flour and spice mix, then let it rest for 15 minutes.


Next step?  Pop all the pieces into the hot oil and let it sizzle away for about ten minutes, or until the chicken is a beautiful golden brown, then turn over for same time.  I was absolutely stunned when I turned the pieces over, that they looked EXACTLY like I wanted them to.  Clearly waiting for the oil to get SUPER HOT was a good idea.


My finished southern fried chicken pieces!  They looked amazing, and tasted great too, although Hubby recommended more salt in the flour mix :)  They won't be a regular (given the deep frying), but I WILL be making them again.


KFC EAT YOUR HEART OUT!

BARBECUE RIBS

This dish was definitely the most difficult and time consuming (in my humble opinion).  Both Hubby and I spent time working on this one. 

Step One was making the spice rub for the ribs.  I combined an amazing list of spices, including garlic powder, onion powder, thyme, paprika, cayenne powder, cajun seasoning and a few other herbs and spices.


After I rubbed the spice mix into the ribs, I poured a bottle of dark beer over the whole lot and popped it in the fridge for three hours.
 

While it was marinating, I made a start on the bbq sauce to go with it.  I sauteed off some butter, onions and chilli, then added brown sugar and golden syrup (you're supposed to use molasses, but I couldn't get any).  


I took it off the heat, added chopped garlic and a tin of pureed tomatoes and blended it with a stick blender until it was as smooth as I could get it.  Then I put it back on a medium heat, added tabasco sauce, Worcester sauce and tabasco sauce.  Once it came to the boil, I turned the heat right down, and left it to simmer and thicken up until I needed it.


After the ribs had marinated for a couple of hours, Hubby drained off the beer, wrapped them in aluminum foil and popped them in the oven for two hours.  After that, he took off the foil, doused the ribs in my bbq sauce and put them on the bbq for about 15 minutes.


This is the end result.  The BBQ sauce was a total success (really, it's amazing!), but the ribs did end up a bit dry (although still very tasty).  Possibly we should have poured some of the beer into the aluminum foil package to keep the ribs moist in the oven.
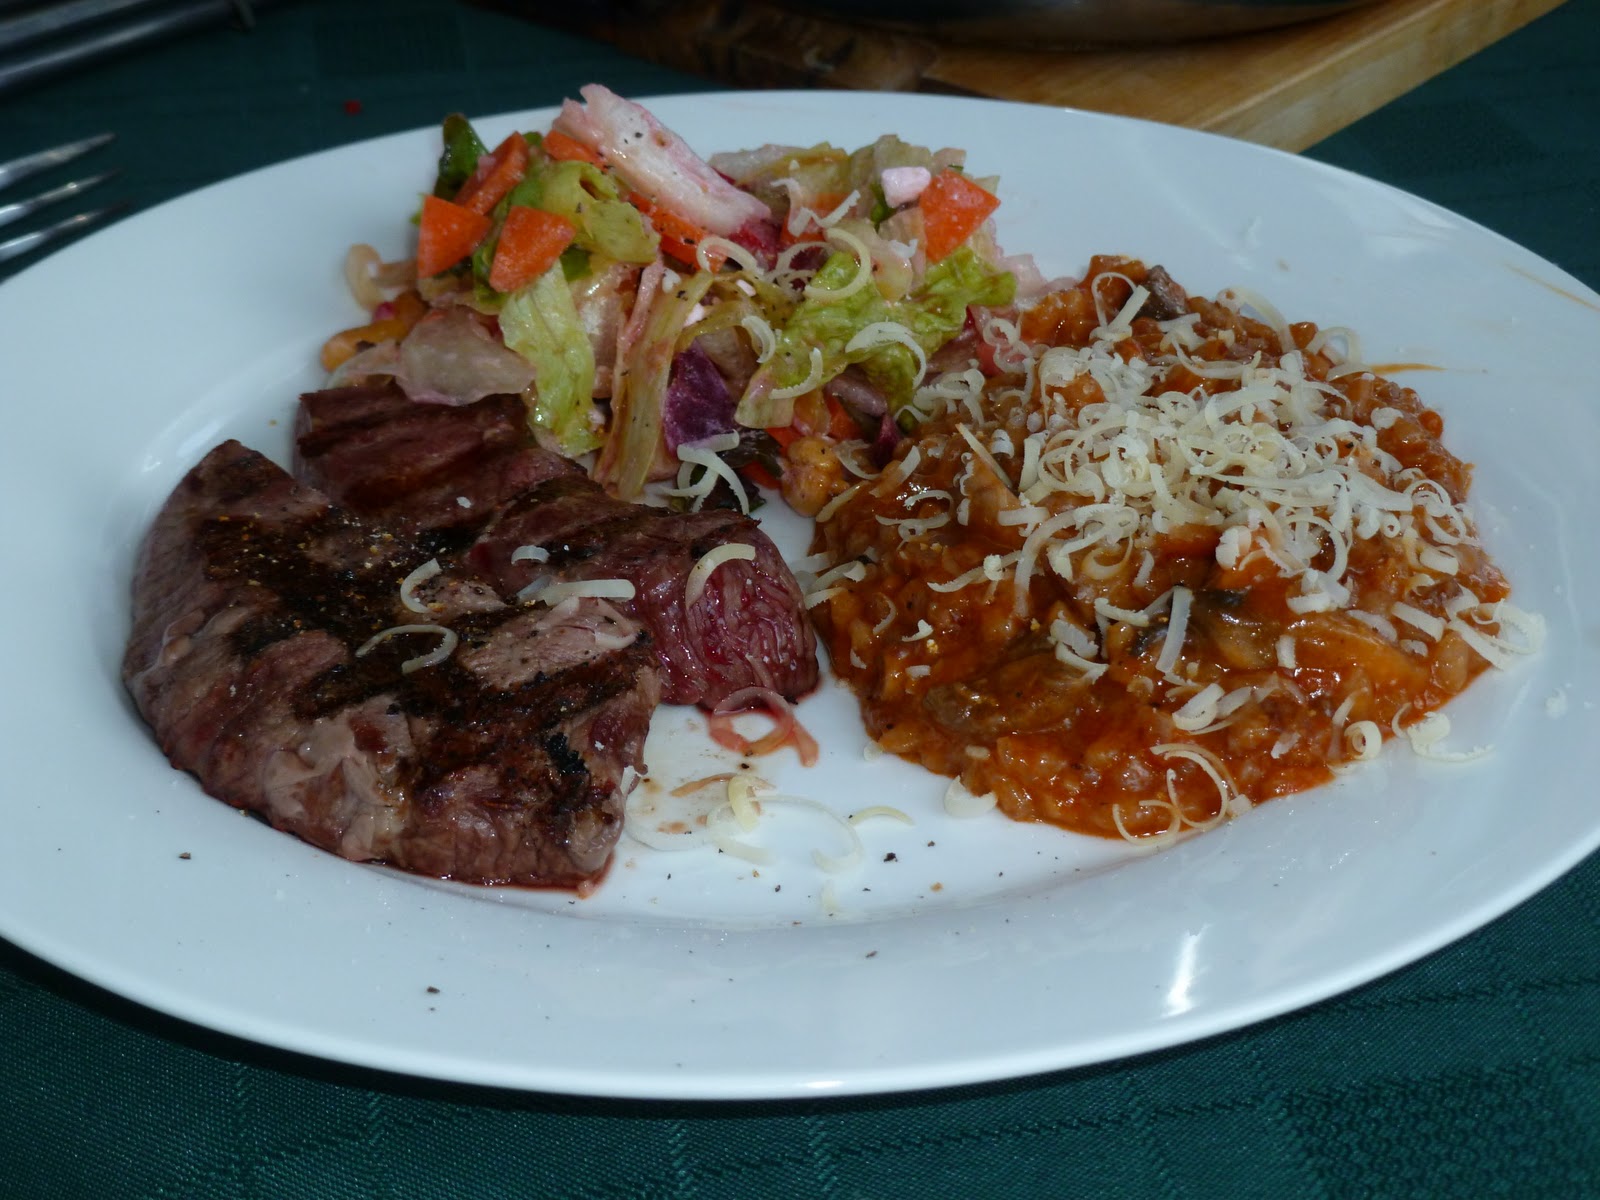
The Feast
 
This is our end result!  Hubby made the coleslaw and did the corn on the bbq, so all up we had a very tasty, very meat-based feast!
 

YUMMO!

Dessert
Hubby made the dessert (I helped by whisking eggs and sugar together).  He made a syrup with a heap of fresh cherries, then made a vanilla custard which he put in the fridge to chill.  Then it all went in our ice cream maker for half an hour.  After that, Hubby popped it in the freezer for two hours to finish off.  I loved it, but Hubby was disappointed that he burnt the cherry syrup.  I thought it gave it a sort of... burnt sugar flavour (which I actually like).


Final Thoughts

I am still amazed, 24 hours later, by how well this feast went.  Most of the dishes turned out amazing, even if we did identify a few issues (like the ribs being too dry).  Most amazing of all, I think, was that I spent half a day in the kitchen, and yet I never lost my patience and I can honestly say, for the first time ever, that I enjoyed every minute.  Clearly Hubby's love of cooking is rubbing off, or maybe I'm just feeling a little more comfortable wearing the apron?

Sunday, January 2, 2011

Baked Eggs

One of the cookbooks I received for Christmas is Serge Dansereau's French Kitchen.  I'm loving leafing through the book, seeing the beautiful photo's, and Serge's comments on the recipes.  Many of the recipes seem just about the right level for a Wannabe Cook - there's no enormous lists of ingredients and so far, no tedious, long-winded instructions that take hours.  Perfect!  Plus it's a reminder of the wonderful food we ate in France on our honeymoon not that long ago.

This morning I decided to try out one of Serge's breakfast recipes for baked eggs.  It was an amazing success - the recipe was incredibly simple and straightforward and I thought my version came out of the oven looking very much like Serge's photo's.  A great start to my new goal!


I started with some two day old bread rolls and hollowed them out carefully.  Then I brushed the insides with melted butter.


Then I cracked an egg into each roll.  I hadn't hollowed them out quite enough to fit in two whole eggs, so I popped in an egg yolk (thank goodness I can separate eggs!).


The recipe said to add a slice of butter to the top of each egg yolk... but I used Mersey Valley Cheddar instead.  I love cheese!


Voila!  It took about 20 minutes to bake the bread rolls until the eggs were cooked - ten minutes longer than the recipe advised, but that's because of our dodgy old oven.

And the moment of truth!  Cutting the bread roll opened revealed beautiful soft eggs - these babies were like soft-boiled eggs (or dippy eggs I grew up calling them) but the grown up version.  I WILL be making this again!

The Challenge - 2011

Welcome to my first post!  The whole purpose of my blog is to help me live up to my goal for 2011 - become a competent home cook.  Not a big ask for many, and most people my age (newly 28) would already be reasonably competent home cooks, but not me.  My excuse?  I spent three years living on my own and working long hours, so my trusty George Foreman grill and microwavable bags of veges became my staple kitchen items.  Occasionally my self-taught twin sister took pity, delivering delicious meals to me, for which I am STILL grateful.   After that, I moved in with my now-husband, who is an amazing home cook (perhaps because his father is a chef?) and has spoilt me for years, preparing every meal.  Over time I've spent less and less time in the kitchen, and when I do it's only to prepare tried and tested staples that I could make with my eyes shut.  Or toast.  Mostly toast.

In December I went to a cooking class with a close friend to learn how to make pasta.  I had an amazing day, and with the help of my husband, father-in-law and my sister, have resolved (even though I never make New Year's Resolutions) to get more active in the kitchen, learn to cook myself instead of relying on my husband to cook for me, and generally learn a new skill.  Perhaps that's why I scored four cookbooks for Christmas....

This blog will be my record of my attempts, failings and successes, to keep me motivated, and keep me learning!

Bon Appetite!